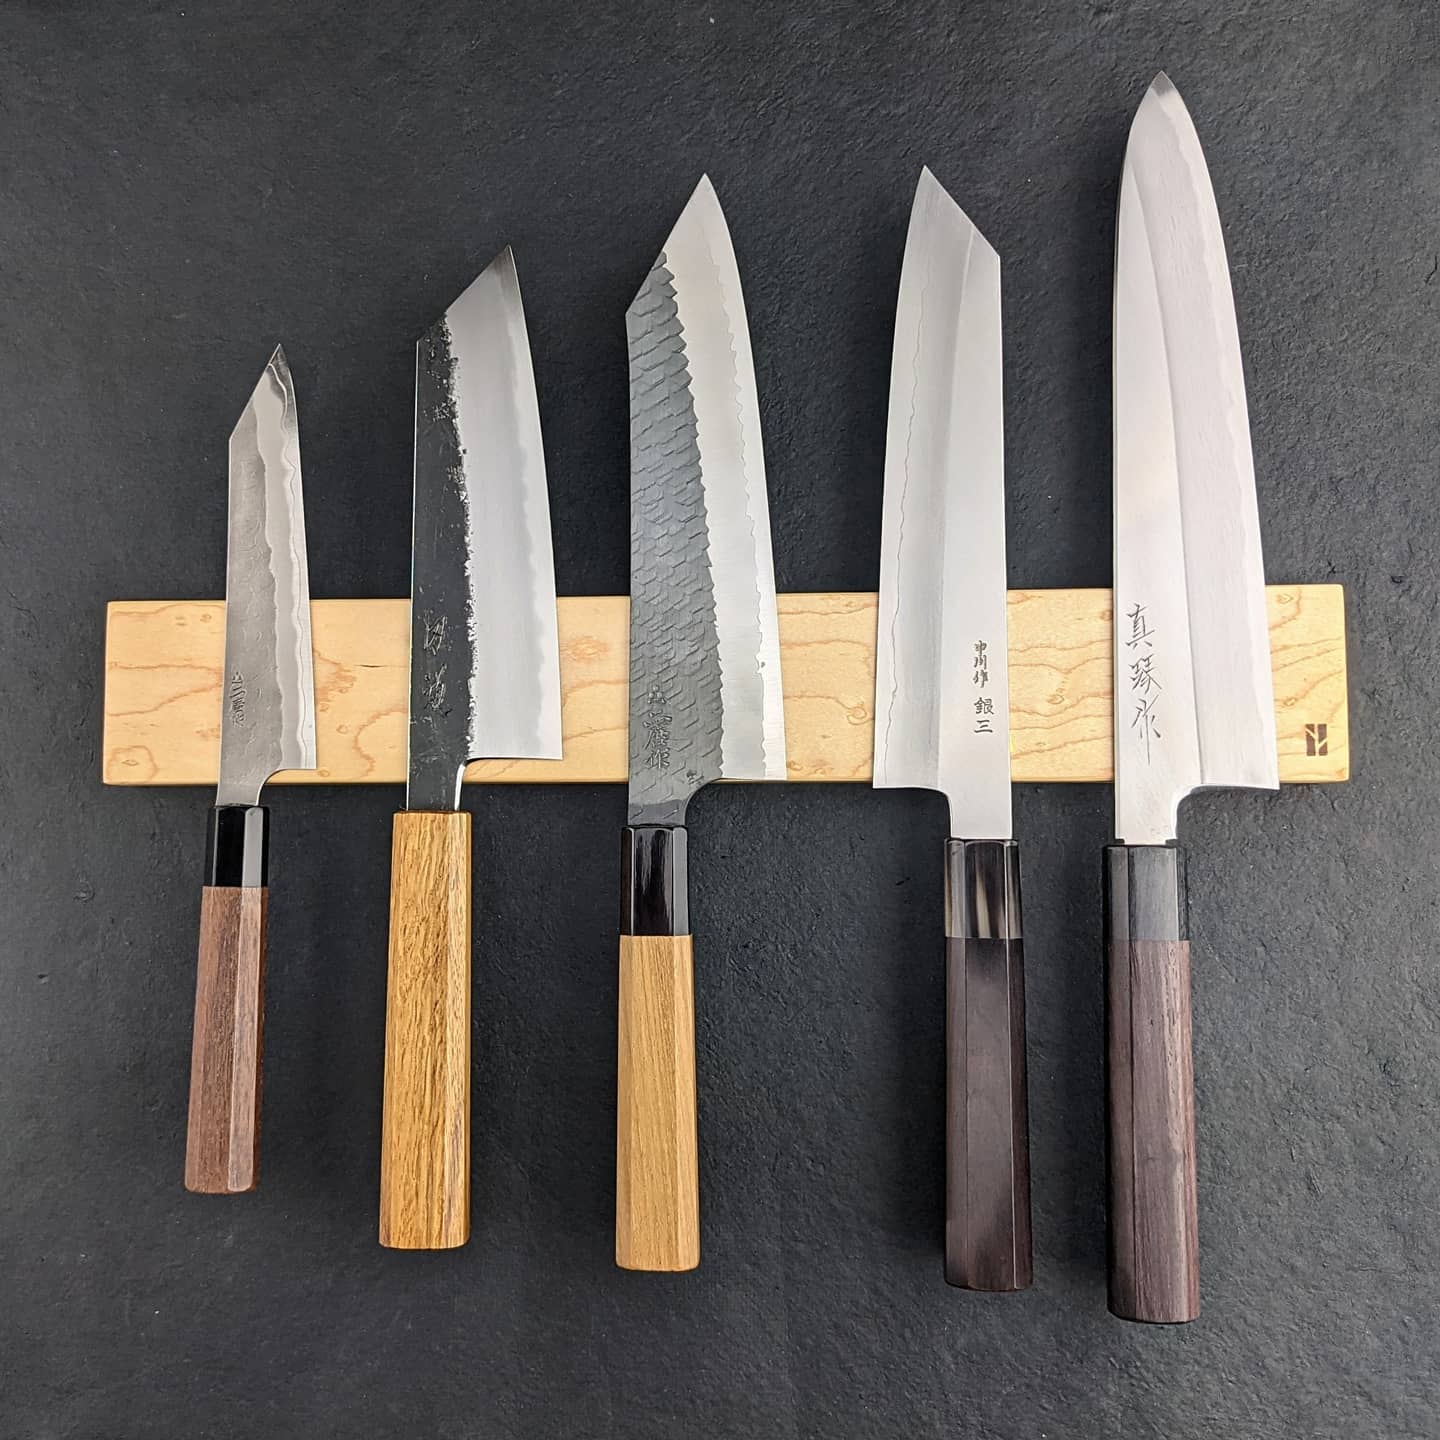
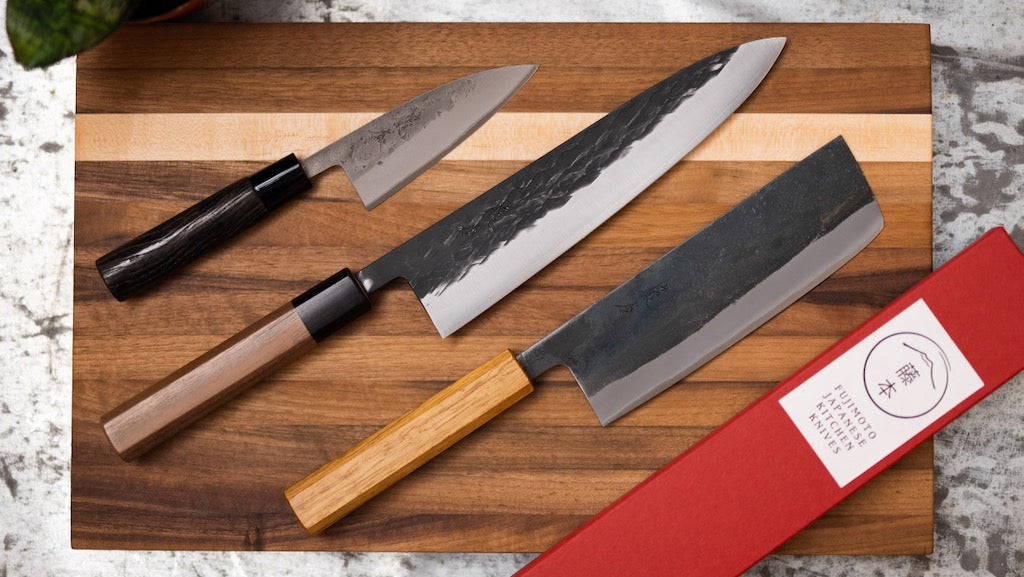
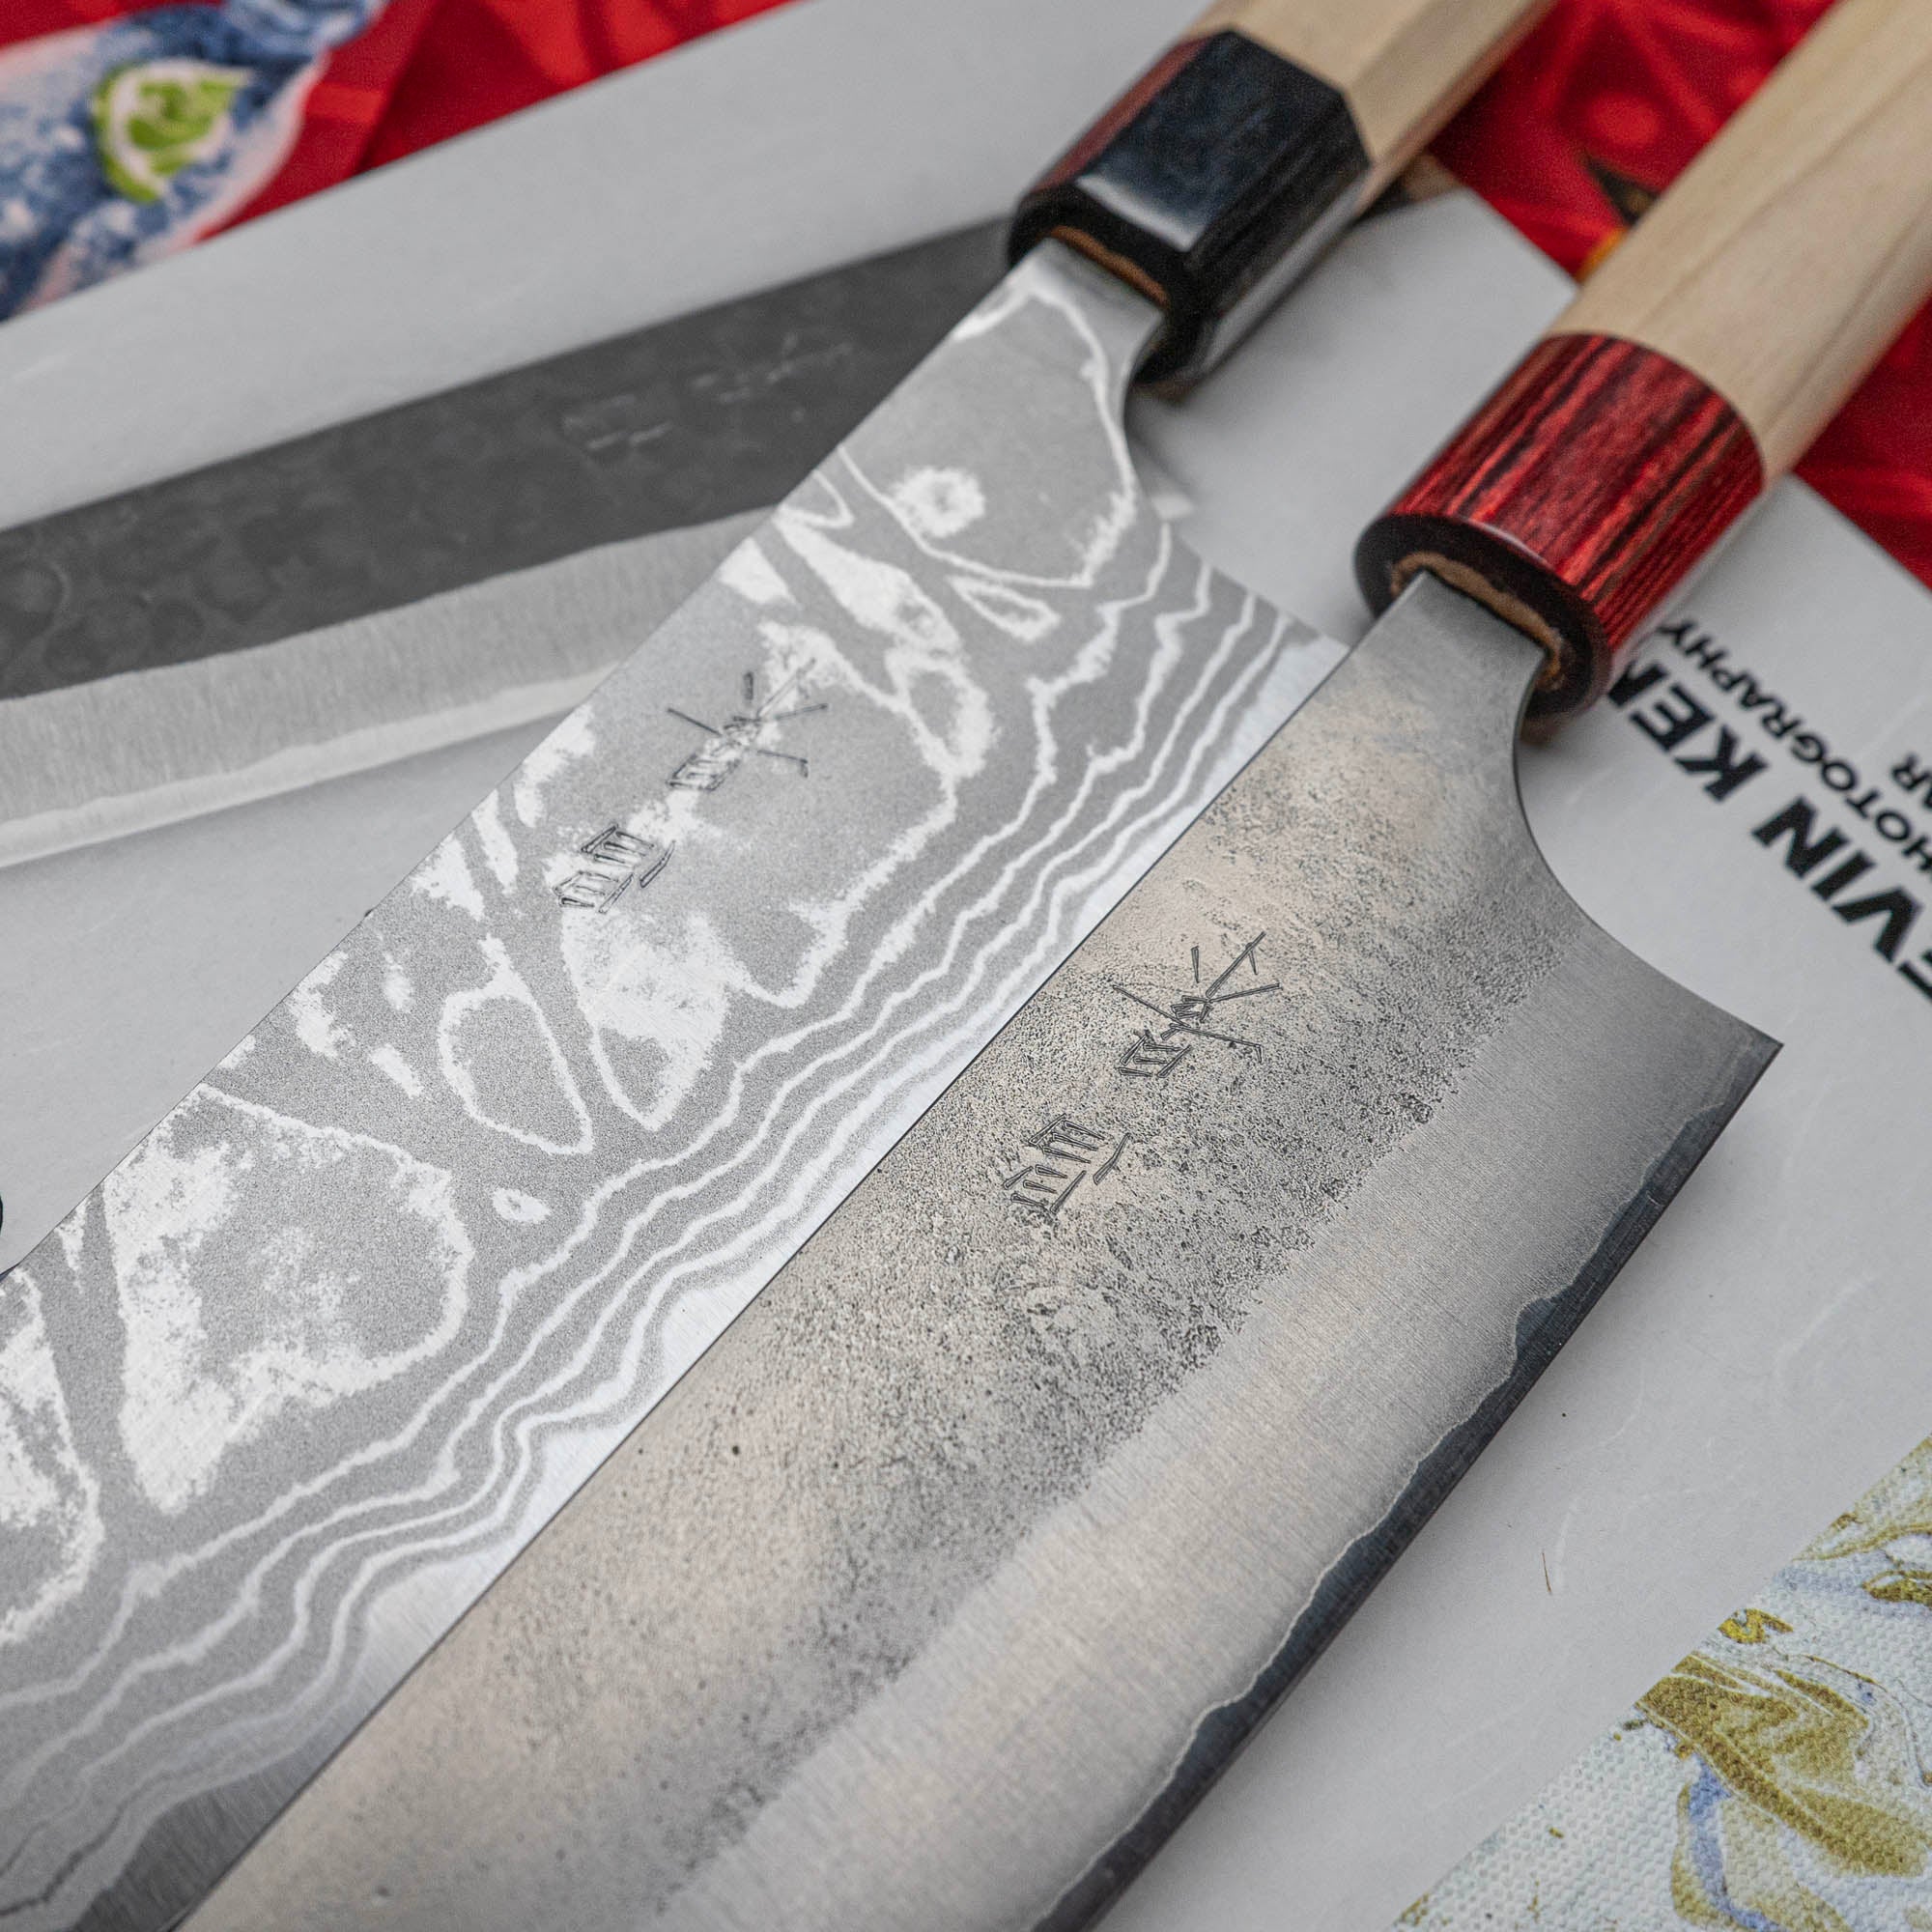
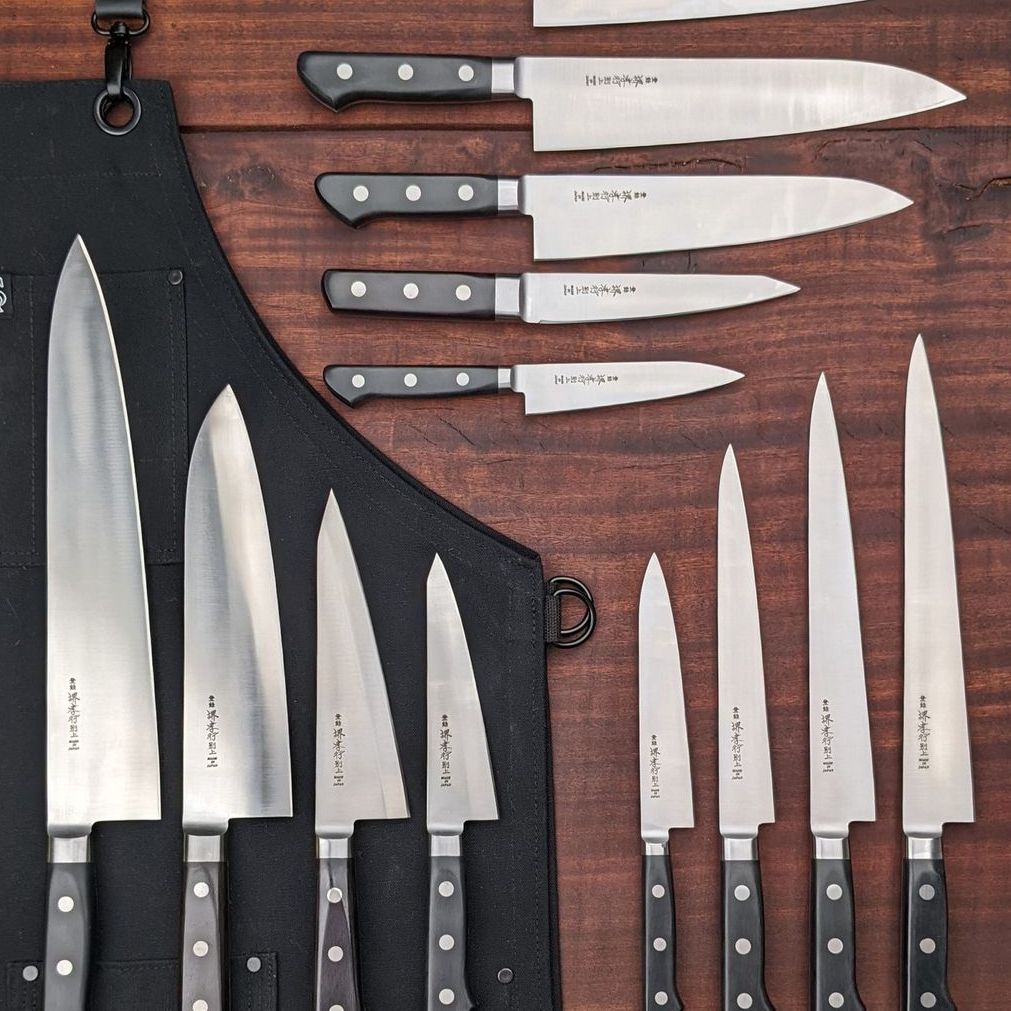
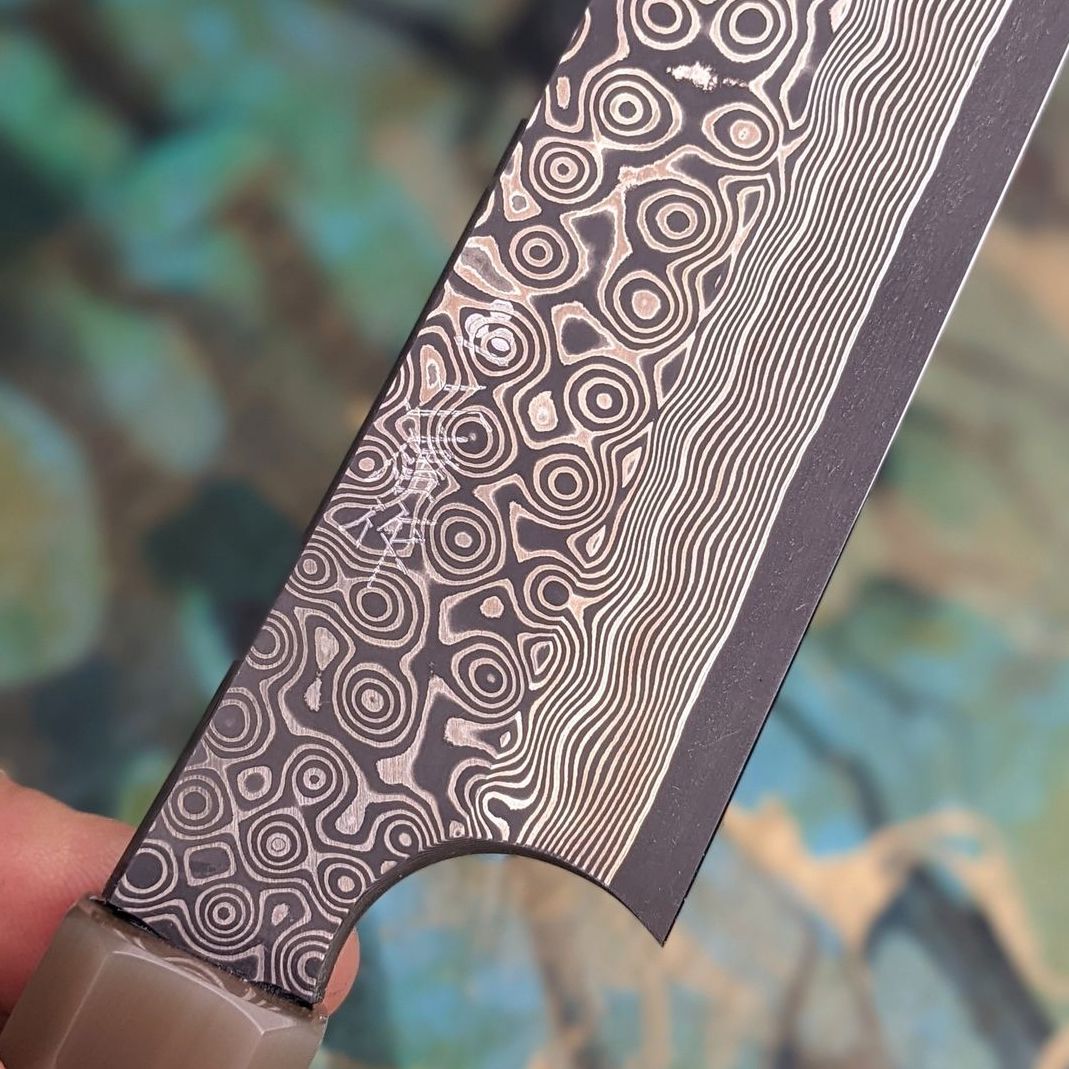
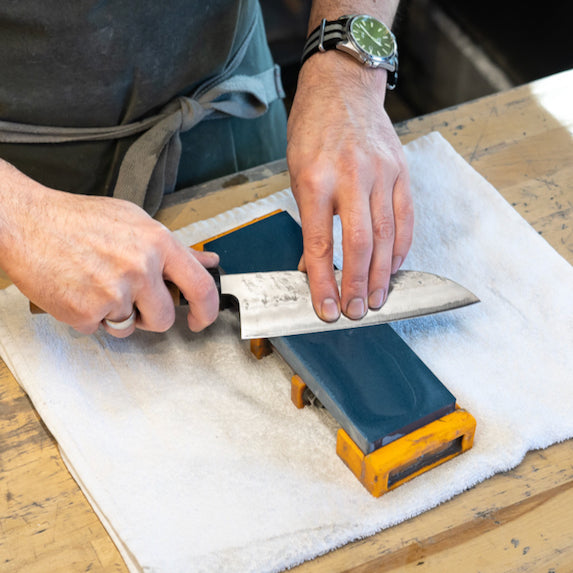
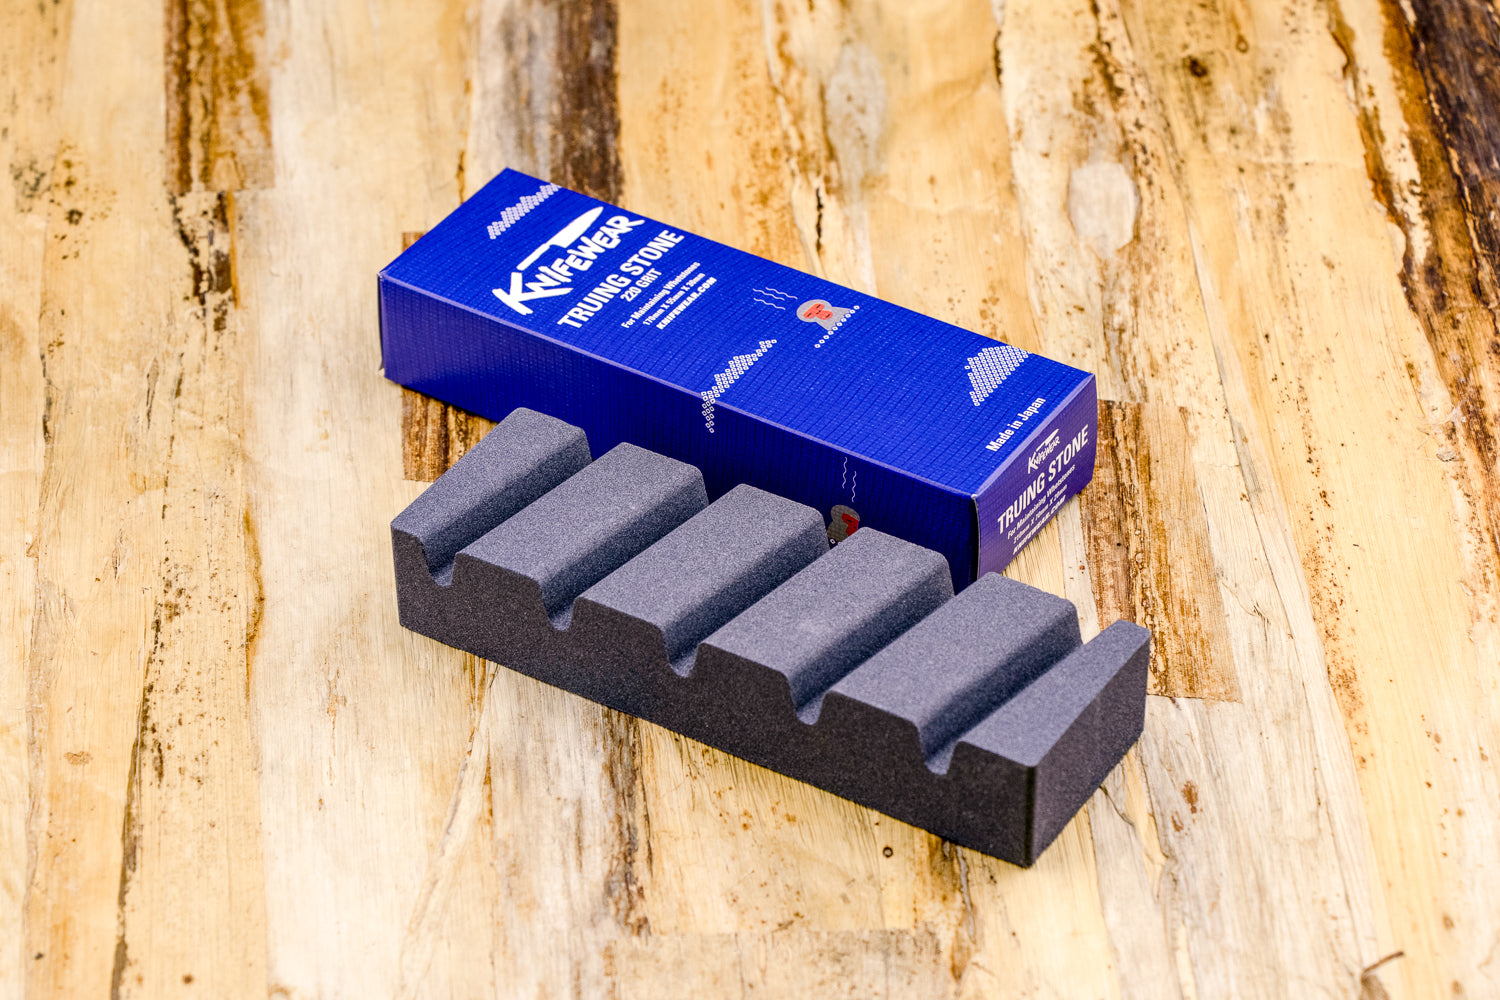
Free shipping on orders over $100 - Excluding konro grills

0

Your Cart is Empty

Japanese Knives
  • Sharpening
  • Accessories
  • Knifewear MERCH - Shirts, Stickers, & More

  • How to Sharpen Kitchen Knives with Japanese Whetstones

    May 28, 2021 8 min read

    So there you are, getting ready for an epic taco Tuesday.  Iceberg lettuce? Check! Shredded Cheeses? Check! Leftover pulled pork? Double-check! Now it’s time for the star of those tacos; the Salsa! You grab your trusty kitchen knife and get to work! Only one problem: Those tomatoes are squished.  We’re not talking a little mess; we’re talking tomato seeds on the ceiling, gushy guts all over the walls. WTF happened?!

    Your knife is dull. That’s what happened. 

    Let’s be honest here; squished tomatoes suck, and dull knives are dangerous. Unacceptable! So now what the heck do you do? Time to bust the old school whetstones and go to town on that knife-shaped hammer. 

    Right now, you might be saying something like “what’s a whetstone?” or “how do I use a brick to sharpen my knife?!”

    Professors Naoto and Adam to the rescue! You can watch the above video with our sharpening wizard Naoto, or if you’re old-school like me, read on and learn the magic of knife sharpening.

    What Equipment do I Need to Sharpen My Knives?

    Optional (but suggested) gear:

    • Leather strop
    • Adult Beverage(s)
    • Podcast or your favourite album.  I love me some heavy metal when I sharpen, try to keep in time with those drums and you’ll be flying!
    • An audience, so you may bask in their adulation when you’ve made that dull kitchen knife a culinary lightsabre.

    For a full breakdown of sharpening equipment, check out our gear guide here.

    Commonly-used knife-sharpening terminology

    Now, there are many terms used in the world of sharpening that can sound like you’re listening to a bunch of skateboarders hanging outside of a 7-11. Fear not; we, the knife nerds are here to break down the jargon.

    Truing - This refers to the flattening of a sharpening stone using a coarse “truing stone”. Truing to make something flat or “true” again, as stones will “dish out” from regular normal use. Rough and medium grit stones should be trued with every use, fine stones can be trued less often.

    Honing - The act of removing excess burrs formed from sharpening or realigning microscopic burrs that occur from normal use. Ceramic Honing rods are the gas for your culinary car - they keep the engine running until it’s time to get them serviced!

    Burr - the “wire edge” or bit of steel that has accumulated on the cutting edge from the process of sharpening/removing steel. It is important to raise a burr while sharpening but also to remove it afterward to achieve a clean cutting edge.

    Strop/Stropping - A motion used when deburring or polishing the edge. Stropping can be done on leather or a stone.  Always lead with the knife's spine, never the cutting edge, and use a motion as if you’re spreading peanut butter on toast.

    How to Sharpen Kitchen Knives with Japanese Whetstones

    First and foremost, make sure you soak those 220 and 1000 grit stones.  They are coarse enough that they need to soak up a bunch of water before you get going. Plunk them, gently, in some water for about 10-15 minutes.  Grab that wobbly pop or family-friendly tea, turn on Metallica’s One, set up that sink bridge and enjoy the tunes. By the time the first couple of songs are over, your stones should be ready to rock.

    Sharpening stones work like sandpaper. We want to work from the low, coarse grits and move upwards into the high grits in incremental steps. In the shops it’s extremely common for us to go 220 -> 1000 -> 4000 -> 8000.

    How to Set the Angle When Sharpening Your Knife

    Before we get carried away, we need to figure out our angles. You might be asking: “How do I find the right angle?” or “Which sharpening angle is right for me?”. This is where the nickels come into play:

    • Set a stack of nickles on the middle of your stone. 3 for a 15 degree angle, 4 for 20 degrees.
    • Set one nickle next to the stack, toward you.
    • Set the edge of your knife on the side of the single 'spacer' nickle opposite the stack.
    • Pull the single 'spacer' away.
    • Leaving the edge where it is, angle the spine of the knife over to the knife is laying against the stack of nickels. You now have your desires angle!

    Easy, right? No guesswork is required. Now that you know how to set your angle, grab the knife handle in your dominant hand and slide your index finger up the spine. You want your finger pressed into the spine and contacting the stone so that your sharpening angle doesn’t change. Protect that finger with a rubber thimble or even some electrical tape wrapped around your finger like a bandaid. These stones are great at grinding steel; they’re even better at grinding skin.  Next, take the nickels off the stone and put them somewhere within reach - you might need to reset your angle at some point.

    How to Raise a Burr On Your Knife

    Start on the right face of the knife if you’re right-handed, left side if you’re left-handed. We’re working in small sections when we sharpen, so we’re going to place 2 or 3 fingers from our other hand just above the cutting edge, close to the heel of the knife.  Not on the stone, but damn close! You don’t need a lot of pressure here; we’re talking just enough weight to maintain contact with the stone.  With both hands and our knife, we’re going to make nice, long, sliding motions back and forth with uniform pressure. Keep your wrists locked to avoid rocking the knife. Remember not to push hard.

    We’re going to repeat this motion on the first section of the blade until we can feel a “burr” all along that area. The burr forms on the side of your knife, not touching the stone, aka the side of the knife facing the ceiling! 

    Feel for that burr by running your thumbprint gently down the face of the knife towards the edge to see if you can feel the curled-over steel. It should feel rough and scratchy, like a kitchen scrubby or velcro. Feel the burr? Move onto the next 2 or 3 finger section, moving up the edge away from the heel and towards the tip. Don’t feel the burr? Keep working on that section until you do! Remember to use lots of water to keep your stone lubricated.


    Feel for the burr with the pad of your thumb.

     There is no fail with Japanese whetstone sharpening.  You either did it right, or you need to do more work. You cannot fail. How awesome is that?!

    As you approach the tip of the knife, you need to roll the tip into the stone to make contact and keep your angle consistent. The tip of your knife is the shortest part, so our nickel trick won’t work here! That’s why we tend to gently “lift” our arm upwards at the elbow, rolling the tip into place on the stone to maintain the angle.

    Is the tip of the knife taking more work than the rest of the cutting edge? That’s cool; it happens to everyone. The tip is the hardest part and requires the most attention. You’ve got this; just be patient! Once you’ve raised a burr all along the edge of your knife, from heel to tip, we’re going to sharpen the other side of the knife. 

    To sharpen the second side of the knife, do everything the same as above. No, seriously, everything is the same! That said, not everyone is ambidextrous and can use their non-dominant hand to sharpen. If you struggle with this, keep the knife in your dominant hand, flip it over, and run it perpendicular to the stone with the edge facing away from you.

     Once you’ve raised a burr along the entire edge, bust out your ceramic honing rod and remove that excess burr. Your first few alternating passes on the rod should feel really gravelly or scratchy. As you make more passes, it should feel smoother until you hit a point where you feel like nothing at all is happening. That’s when you know it’s time to move on to the next step!

    Refining the edge of your knife

    Now, we move onto the 1000 grit stone. How do we use this stone? The same as the 220 grit! Everything is the same, EXCEPT that the burr you’re raising and feeling for is much finer.  Feeling for that burr might be a little bit challenging at first as it’s not jumping off the knife at you, so go slow and feel the burr catch the ridges of your fingerprints! 

    Sharpening western kitchen knives

    If you’re sharpening a non-japanese kitchen knife, give that edge a thorough hone and strop. Voila, your knife is probably sharper than when you bought it! If it isn’t, keep practicing. It takes a lot of practice to get good, and remember: there is no fail; you just need to do a little more work. If you are sharpening Japanese knives, well then, dear reader, hone the heck out of that knife and grab your mighty 4000 grit stone!

    Sharpening Japanese Kitchen Knives

    When you have really hard Japanese steel, you can also polish your knives to a higher grit, allowing them to cut even silkier than their western counterparts. That’s where higher-grit stones come into play, like the Knifewear 4,000 and 8,000. They give you a super smooth edge that cuts like a lightsaber!

    Finer whetstones are what we call “Splash n’ Go”, meaning they don’t need to be soaked (soaking can actually damage them), but otherwise are used very much the same as the previous stones, except you aren’t focusing on creating a burr. Instead, you’re listening for little “clicks” and scratchy sounds that the knife makes as you use the stone. Over time the stone will become quieter, indicating that you’ve polished the rough scratches out of your edge. You’re also looking for a consistent, near mirror polish all along the edge.  Do you see a cloudy spot? Then keep polishing that spot! You can’t over-grind your knife on a 4000 or 8000 grit stone, so relax and enjoy the near meditative process of polishing your knife. This stage is more about patiently looking and listening than it is feeling for a burr.

    How to test your knife’s sharpness

    Once you’ve got your knife polished, give it a gentle hone on your ceramic rod and run it across your leather strop. Grab a tomato. Does your knife glide through it effortlessly? Yes? CONGRATS! You’re good to go. If not, spend more time honing and stropping your edge, or go back to your stones if that doesn’t do the trick. 

    You can also use newspaper to check for minor imperfections in your edge.  If the knife catches on the paper or tears in any way, you likely need to continue honing and stropping that specific trouble spot. Newsprint often has a specific grain, so if the knife consistently snags, rotate that paper once and try again.  If the knife is still catching, then honing and stropping is your key to a keen edge.

    As with learning any new skill, practice, practice, practice! If this introduction to sharpening still has you perplexed, make sure to tune into our weekly live videos on youtube and check out our knife-sharpening playlist here. You can follow along, ask questions and feel overall more confident! Sometimes, those YouTube University degrees really work!

    Happy Sharpening, Folks.

    Grab some sharpening gear here!

       Adam Zarycki
    Adam Zarycki

    After a decade of being chained to the stove, Adam enrolled in the Knifewear Chef Rehab Program, meaning he's almost a normal person! Our resident axe nerd and outdoor enthusiast, he's also a Kiritsuke connoisseur. Stop by with any axe questions or ask him about that time he won third best Donair in Edmonton!